Welcome to another post in our series of how to use OCaml for machine learning. In previous posts we’ve discussed artistic style-transfer and reinforcement learning. If you haven’t read these feel free to do so now, we’ll wait right here until you’re done. Ready? Ok, let’s continue …
In this post, we follow the lines of the PyTorch Transfer Learning Tutorial. Transfer Learning has become an essential building block of machine learning. In order to build efficient models on a small dataset, the idea is to reuse some model trained on a large generic dataset and the specialize it to work on the smaller - different but related - task. This can cut down significantly the amount of GPU/CPU time needed to train the final model, and the amount of training data required. The PyTorch tutorial uses a deep Convolutional Neural Network (CNN) model trained on the very large ImageNet dataset (composed of more than one million pictures spanning over a thousand classes) and uses this model as a starting point to build a classifier for a small dataset made of ~200 images of ants and bees.
Pythons and Camels
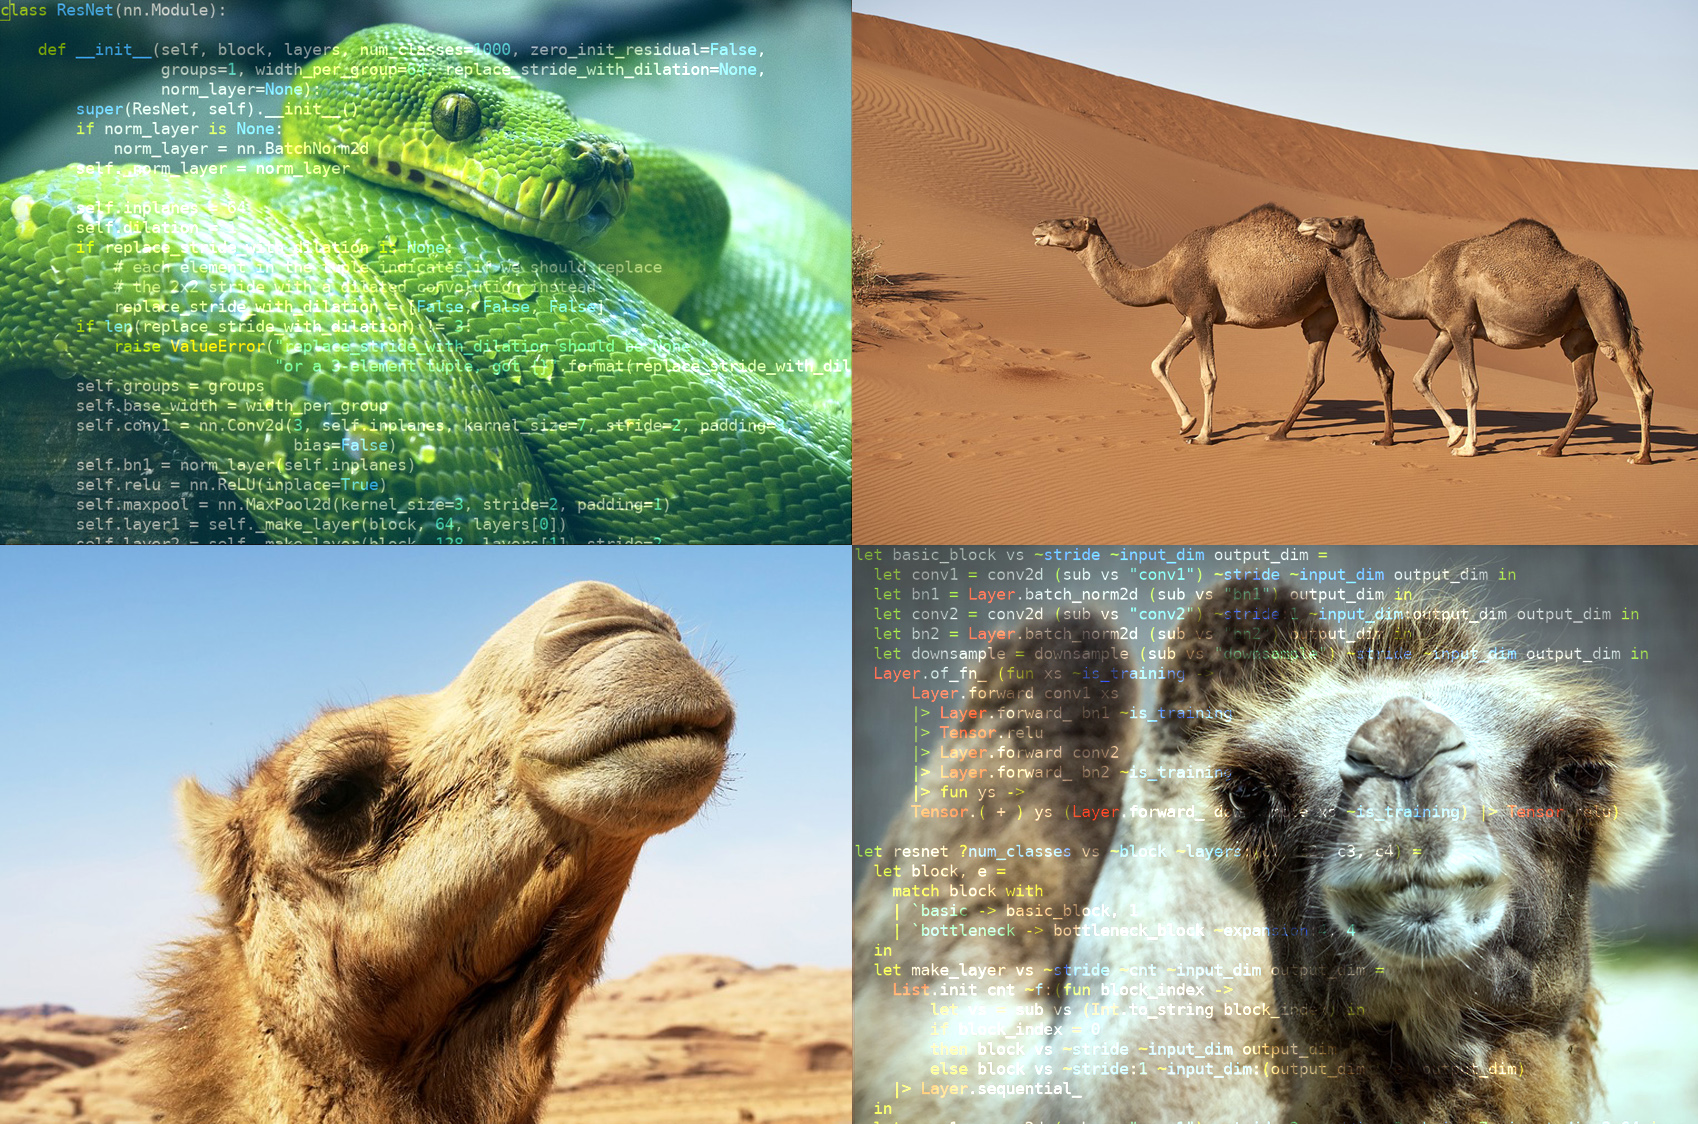
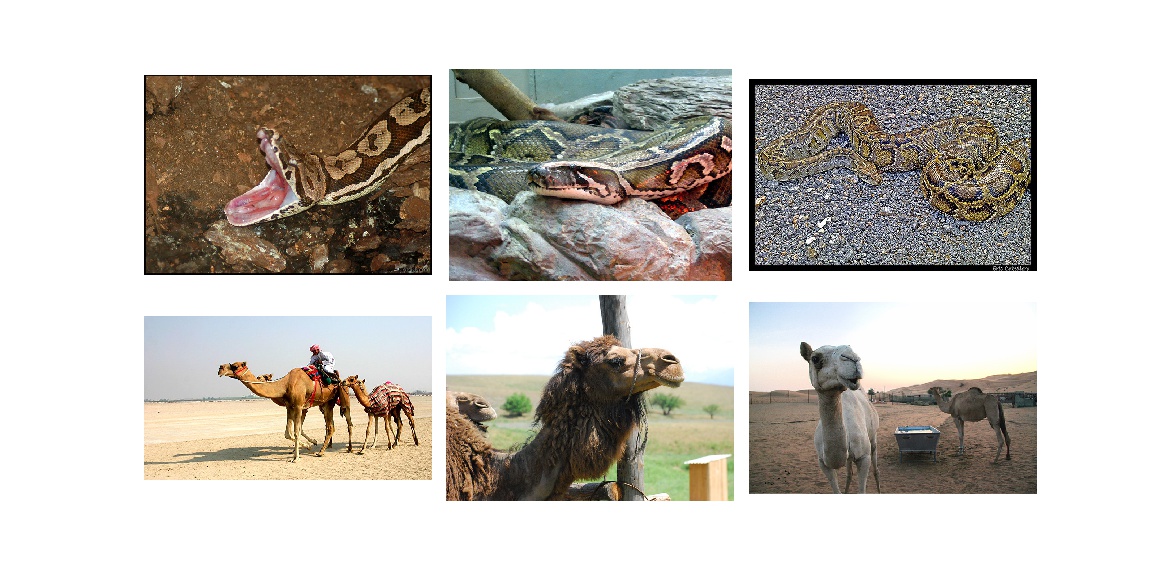
We will build a similar classifier based on a pre-trained CNN but rather than using it to separate images of ants from bees, we will use it to separate two different kinds of animals: pythons and camels. In the PyTorch tutorial the images of ants and bees come from a subset of ImageNet - and the network itself is trained on ImageNet. Here we use a different dataset to get images of pythons and camels, the Open Images Dataset V5.
This dataset contains categories related to pythons, and categories related to camels. Overall, we extract 249 images of pythons and 822 images of camels. Some randomly selected images are represented below.
Transfer Learning
As detailed in the original tutorial, there are two main alternatives to train the classifier.
- Finetuning the pretrained model. We start from a model pretrained on ImageNet, replace the last layer by a binary classifier and train the resulting model as usual.
- Using a pretrained model as feature extractor. The pretrained model weights are frozen and we run this model and store the outputs of the last layer before the final classifier. We then train a binary classifier on the resulting features.
These two approaches are not mutually exclusive: the second approach can be used to train a new top layer and then the lower layers can be “unfrozen” to finetune the entire model with a very small learning rate for a few epochs.
In this post we focus on the second alternative. We use a ResNet-18 model, the ResNet family of model was introduced at the end of 2015 and is now very widely used in computer vision. In 2015, the original ResNet model training required several weeks of GPU compute time 1. Using transfer learning we can build our pythons vs camels model with less than a minute of a 2015 laptop CPU compute time - a significant improvement. We have an OCaml implementation of this network using the ocaml-torch bindings and for which pre-trained weights are available.
The code to fine-tune the model can be found in this file let’s have a more in depth look at it. First, we load the images from our dataset.
let dataset = Imagenet.load_dataset ~dir:Sys.argv.(2) ~classes:["camel"; "python"] () in
Dataset_helper.print_summary dataset;
The print_summary function prints the dimensions of the tensors that have been
created. For training the tensor has shape 822x3x224x224, this corresponds to
822 images of height and width both 224 with 3 channels (PyTorch uses the NCHW
– Num samples x Channels x Height x Width –
ordering for image data). The testing image tensor has dimensions 249x3x224x224
so there are 249 images with the same size as used in training.
The pixel data from the dataset is converted to features by running a pre-trained ResNet model. This is done in the following snippet:
(* Precompute the last layer of the pre-trained model on the whole dataset. *)
let dataset =
  let frozen_vs = Var_store.create ~frozen:true ~name:"rn" () in
  let pretrained_model = Resnet.resnet18 frozen_vs in
  Stdio.printf "Loading weights from %s.\n%!" model_path;
  Serialize.load_multi_
    ~named_tensors:(Var_store.all_vars frozen_vs)
    ~filename:model_path;
  Stdio.printf "Precomputing activations, this can take a minute...\n%!";
  Dataset_helper.map dataset ~batch_size:4 ~f:(fun _ ~batch_images ~batch_labels ->
      let activations =
        Layer.forward_ pretrained_model batch_images ~is_training:false
      in
      Tensor.copy activations, batch_labels)
This snippet performs the following steps:
- A variable store
frozen_vsis created. Variable stores are used to hold trainable variables. However, in this case no training is performed on the variables so we use~frozen:truewhich should slightly speed-up the model evaluation. - A ResNet-18 model is created using this variable store. At this point the model weights are randomly initialized.
Serialize.load_multi_loads the weights stored in a given file and copies their values to the model weights tensors. Tensors are named in the serialized file in a way that matches the names we used when creating the ResNet model.- Finally for each tensor of the training and testing datasets,
Layer.forward_ pretrained_modelruns the forward pass of the model and returns the resulting tensor. In this case the result is a vector of 512 values per sample.
Now that we have precomputed the output of the ResNet model on our training and testing images we will train a linear binary classifier to recognize pythons from camels. We start by defining a model, for this we need a variable store to hold the trainable variables. Then we run gradient descent to optimize the cross-entropy loss between the ground truth and the model predictions. As we only have to train a small linear model we only loop over the dataset a small number of times. Overall this should run in less than a minute even on a laptop CPU and achieve near 100% accuracy. This is significantly faster than the multiple weeks of GPU used to train the original ResNet and is one of the appeals of transfer learning.
let sgd = Optimizer.sgd train_vs ~learning_rate:0.001 ~momentum:0.9 in
for epoch_idx = 1 to 20 do
  Dataset_helper.iter dataset ~batch_size ~f:(fun _ ~batch_images ~batch_labels ->
      let predicted = model batch_images in
      (* Compute the cross-entropy loss. *)
      let loss = Tensor.cross_entropy_for_logits predicted ~targets:batch_labels in
      Optimizer.backward_step sgd ~loss);
  (* Compute the validation error. *)
  let test_accuracy = Dataset_helper.batch_accuracy dataset `test ~batch_size ~predict:model in
  Stdio.printf "%3d   test accuracy: %.2f%%\n%!" epoch_idx (100. *. test_accuracy)
done
Using ImageNet Labels
Reaching 100% accuracy on this pythons vs camels dataset is quite amazing. However, ImageNet has categories for pythons and camels so couldn’t we just stick with the original ResNet-18 network and compare the scores of the python and camel classes?
let camel_idx = 354
let python_idx = 62

(* Prints the proportion of python images in a directory. *)
let process model ~dir =
  (* Load all the images in a directory. *)
  let images = Imagenet.load_images ~dir in
  Tensor.print_shape images ~name:dir;
  (* Run the model on the images and compute all class logits. *)
  let logits = Layer.forward_ model images ~is_training:false in
  (* Isolate the logits for python and camel classes. *)
  let python_logits = Tensor.narrow logits ~dim:1 ~start:python_idx ~length:1 in
  let camel_logits = Tensor.narrow logits ~dim:1 ~start:camel_idx ~length:1 in
  let python_proba =
    (* Compute python >= camel and the mean to get proportion of python images. *)
    Tensor.(mean (ge1 python_logits camel_logits |> to_type ~type_:(T Float)))
    |> Tensor.to_float0_exn
  in
  Stdio.printf "Python: %.2f%%\n%!" (100. *. python_proba);
  Stdio.printf "Camel : %.2f%%\n%!" (100. *. (1. -. python_proba))
If we do this, with no finetuning, we can get an accuracy of >98% over the entire dataset.
A More Challenging Problem
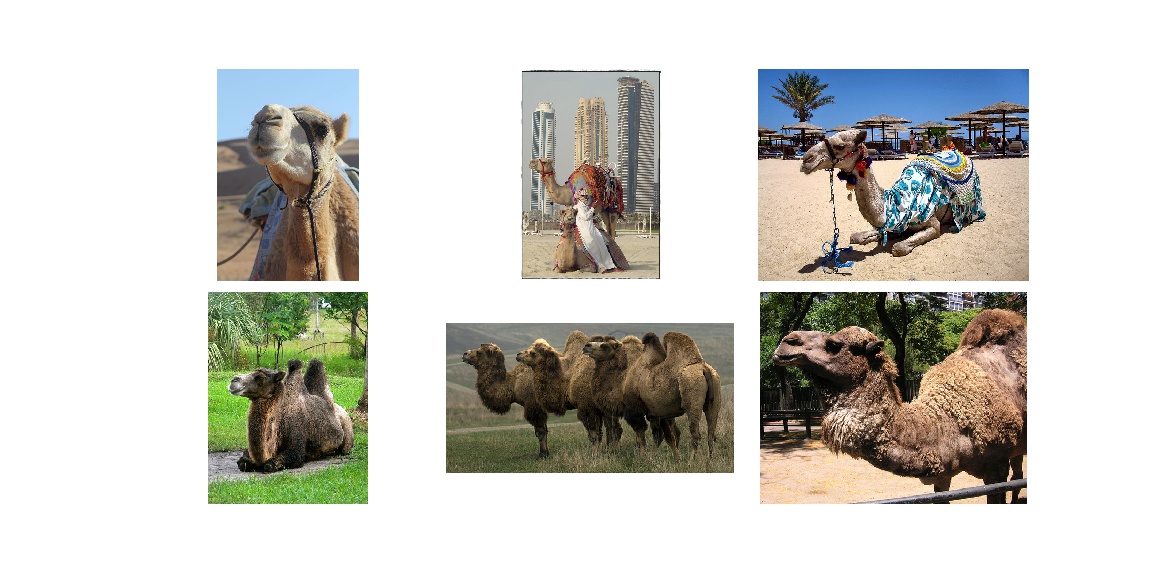
Let us try with a more challenging problem. There are two different kind of camels. The perl camel has a single hump (it is also known as the arabian camel) whereas the ocamel has two humps (it is also known as the bactrian camel). ImageNet does not have two different categories for these and lumps them together as “camel”, but luckily Open Images V5 does have separate labels. We have created a very small dataset, only 165 photos of arabian camels and 70 photos of bactrian camels for training and 55 and 23 photos, respectively, for validation. An example of some of these images are shown below:
Let us run our code again on this camel vs camel dataset and plot the training loss together with the accuracy on the testing set.
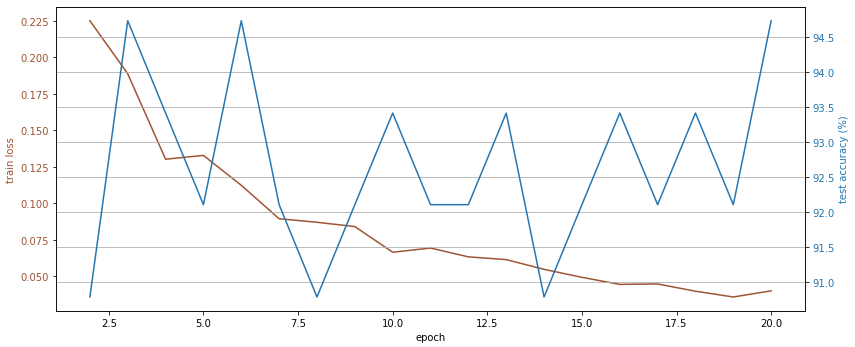
It works! And we get >90% test accuracy even with our small training data set.
Why does this work? Because the lower layers in the ResNet18 network learn to identify common patterns, it is only near the top that the specialization into the ImageNet classes takes place. We remove the top layer and use the learned features to of the lower layers in order to build a classifier for our small 2-class camel dataset.
Thanks for reading. The full code can be found in finetuning.ml and predict_labels_only.ml.
-
14 days for ResNet18, 52 days for ResNet101: http://torch.ch/blog/2016/02/04/resnets.html ↩